 The
metalworking corner of my workshop. The lathe is a 12X36 gap-bed gearhead,
weighs about 900 lbs. The mill/drill weighs about 660 lbs. Under the table
you'll see the very useful bandsaw. These machines all came from Harbor
Freight Tools.
The
metalworking corner of my workshop. The lathe is a 12X36 gap-bed gearhead,
weighs about 900 lbs. The mill/drill weighs about 660 lbs. Under the table
you'll see the very useful bandsaw. These machines all came from Harbor
Freight Tools.
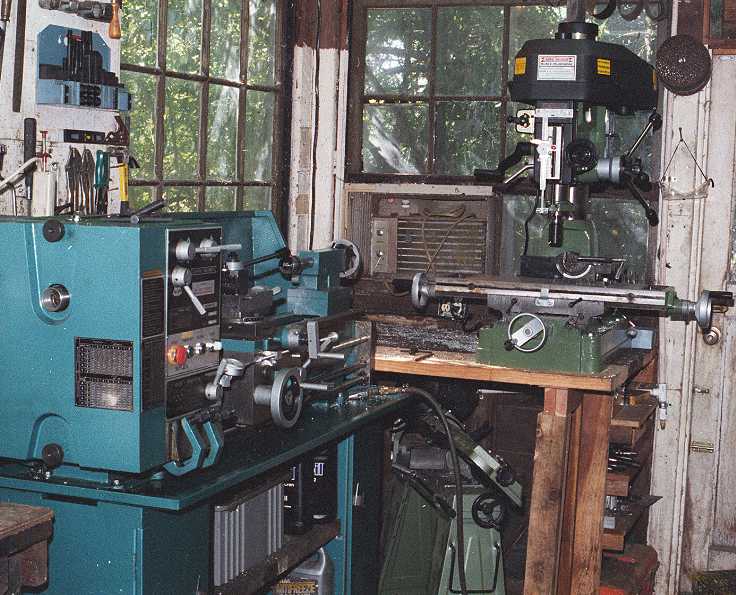
Here are some pictures of my shop and some of my projects (the successful ones, not the freshly-made scrap metal).
The
metalworking corner of my workshop. The lathe is a 12X36 gap-bed gearhead,
weighs about 900 lbs. The mill/drill weighs about 660 lbs. Under the table
you'll see the very useful bandsaw. These machines all came from Harbor
Freight Tools.
I'm very satisfied with all of these machines, starting with the bargain price (the local HF dealer underpriced the catalog by $200 on the lathe and the mill/drill, $50 on the saw). With no shipping charge, I picked them up at the store.
If you buy one of these machines at these prices, think of it as an
assembled kit. There will be lots of details and adjustments you'll have
to make. But why not? It's a hobby, right?
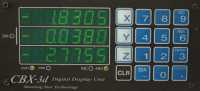 The
lathe and mill/drill now have this very nice digital readout from Shooting
Star Technology. Have a look at some detailed pictures of the installation.
The
lathe and mill/drill now have this very nice digital readout from Shooting
Star Technology. Have a look at some detailed pictures of the installation.
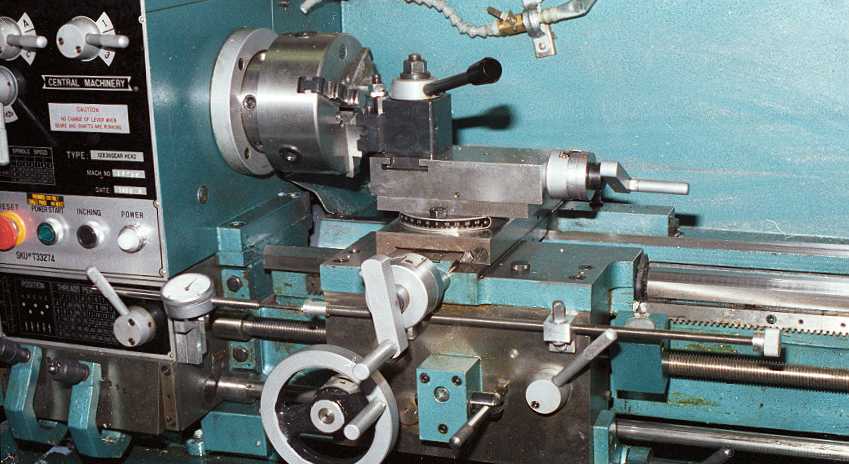 Before
the DRO was installed, this readout for the carriage of the lathe was valuable,
especially in threading or facing to exact lengths. It used a bargain-priced
two-inch dial indicator from MSC, acuated by the threaded rod attached
to the carriage.
Before
the DRO was installed, this readout for the carriage of the lathe was valuable,
especially in threading or facing to exact lengths. It used a bargain-priced
two-inch dial indicator from MSC, acuated by the threaded rod attached
to the carriage.
.
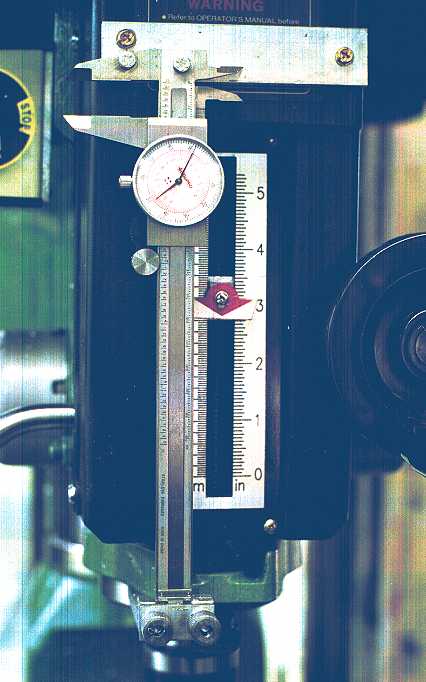 Also
pre-DRO: the mill/drill has reasonably accurate X and Y verniers for the
table, but the depth vernier is not accurate.
Also
pre-DRO: the mill/drill has reasonably accurate X and Y verniers for the
table, but the depth vernier is not accurate.
So I sacrificed a cheap (but accurate) vernier caliper - fastened it permanently at the top and grabbed its tail in a clamp at the bottom of the quill mounting (with knurled thumbscrews).
The result is an absolute readout, easily resettable to .0005". Makes the mill/drill a pleasure to use.
After several nasty gouges from the points of the caliper jaws (which are right next to the power switch) I cut them off.
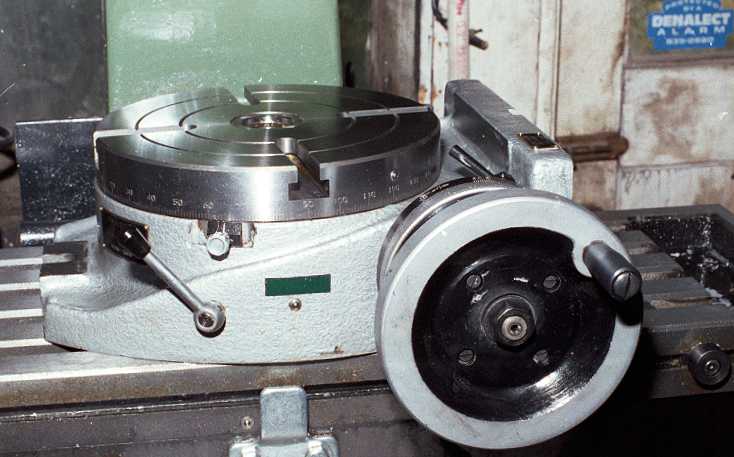 This
8" rotary table is from PhaseII, and it's a nice one. 90:1 worm drive,
so a full revolution of the handwheel rotates the table four degrees. The
worm gearbox is oil-filled.
This
8" rotary table is from PhaseII, and it's a nice one. 90:1 worm drive,
so a full revolution of the handwheel rotates the table four degrees. The
worm gearbox is oil-filled.
My first project with the table was to mill a large-radius circle segment
in the fork brace (see below). Just calculate the desired radius, move
the whole table away from the milling cutter by that amount, lock the mill
table and rotate the rotary table.
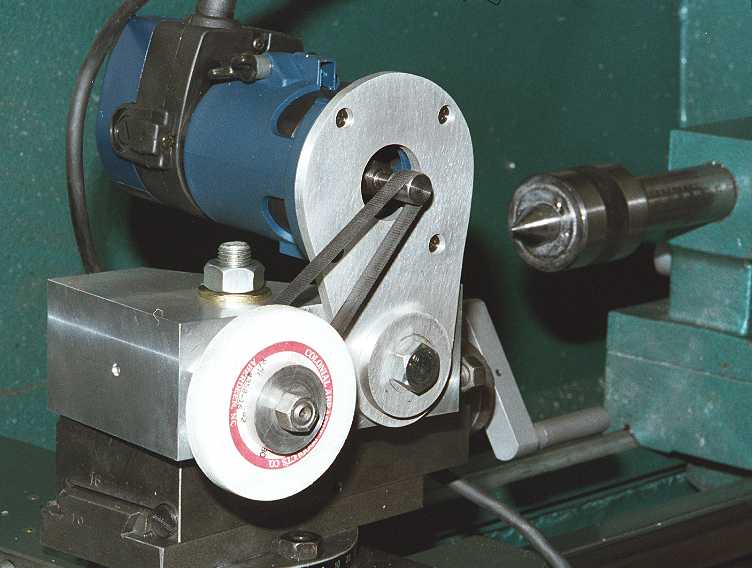
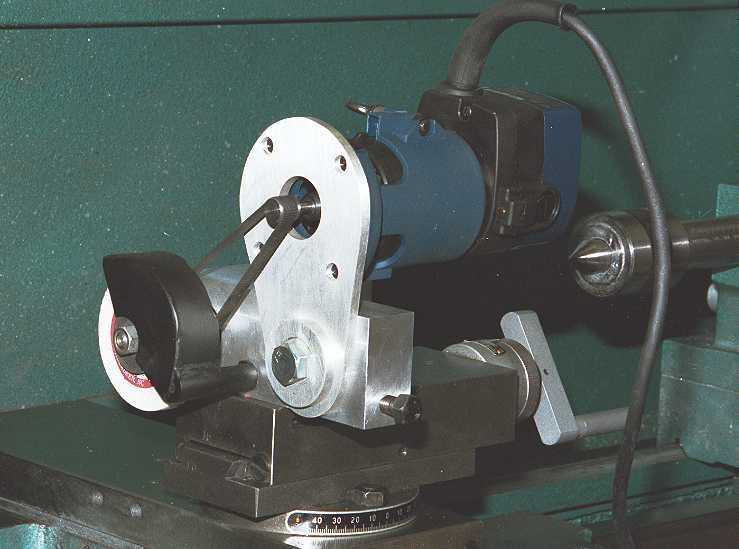 I
made this toolpost grinder from plans in an article in Home Shop Machinist
- a very nice design, btw. Commercial toolpost grinders cost between $1K
and $2K, while this was about $250. It uses a small router as a motor while
the grinding wheel shaft runs in high-speed sealed ball bearings in a billet
aluminum frame. It's solid and has lots of grinding power.
I
made this toolpost grinder from plans in an article in Home Shop Machinist
- a very nice design, btw. Commercial toolpost grinders cost between $1K
and $2K, while this was about $250. It uses a small router as a motor while
the grinding wheel shaft runs in high-speed sealed ball bearings in a billet
aluminum frame. It's solid and has lots of grinding power.
Another view with the guard removed.
For some details and deviations, check out grinder notes.
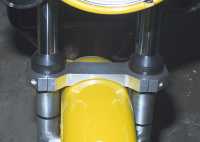 Fork
brace for the RZ350: ready to install, facing the brace, boring the
holes, cutting the fender curve.
Fork
brace for the RZ350: ready to install, facing the brace, boring the
holes, cutting the fender curve.
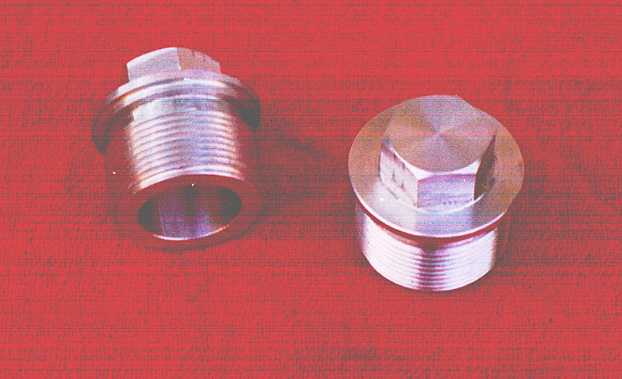 Fork
caps for the RZ350 - it came with air-pressure caps, which I don't like.
After changing the springs the air caps are no longer needed.
These are much easier to install.
Fork
caps for the RZ350 - it came with air-pressure caps, which I don't like.
After changing the springs the air caps are no longer needed.
These are much easier to install.
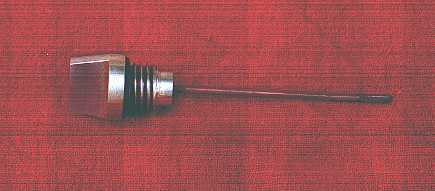 The
dipstick for the RZ350 is a common problem - the plastic threads swell
up and bind in the case. This billet piece won't swell!
The
dipstick for the RZ350 is a common problem - the plastic threads swell
up and bind in the case. This billet piece won't swell! 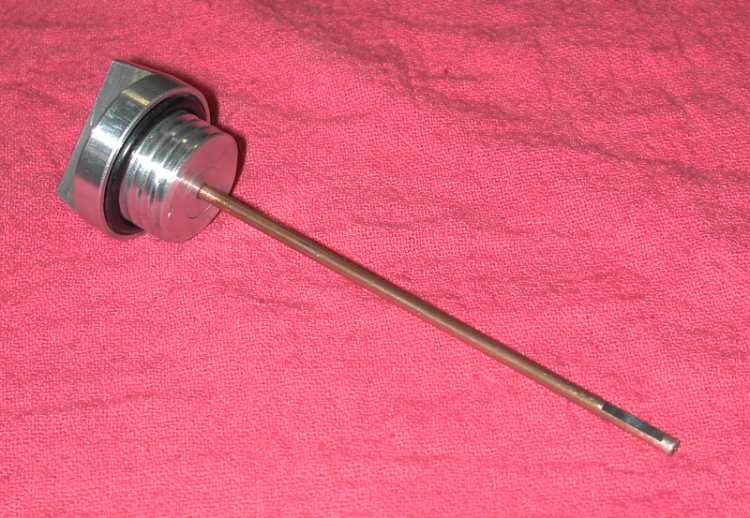 This
one is for the RD350.
This
one is for the RD350.
There's nothing wrong with the stock one, but once you start adding
billet aluminum pieces to the bike it's hard to stop.
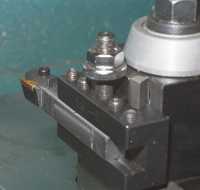 This
indexable toolholder uses the inexpensive TPG 322 carbide inserts. This
one is for facing, there will be more to come.
This
indexable toolholder uses the inexpensive TPG 322 carbide inserts. This
one is for facing, there will be more to come.
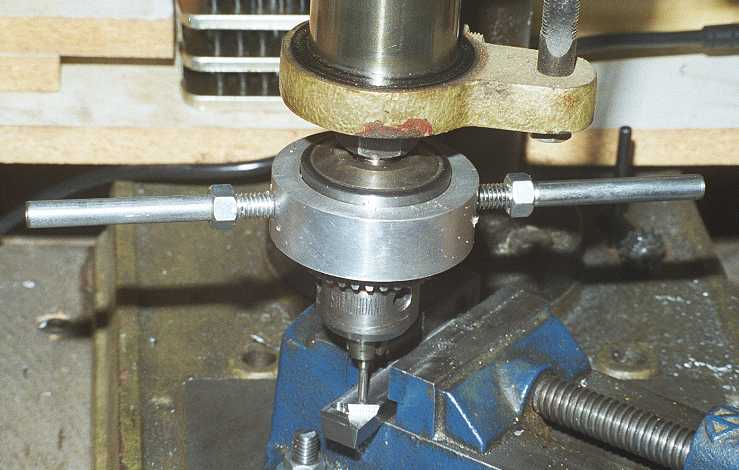 This
tapping handle for the drill press makes accurate tapping a snap.
This
tapping handle for the drill press makes accurate tapping a snap.
![]() To
Main Page
To
Main Page